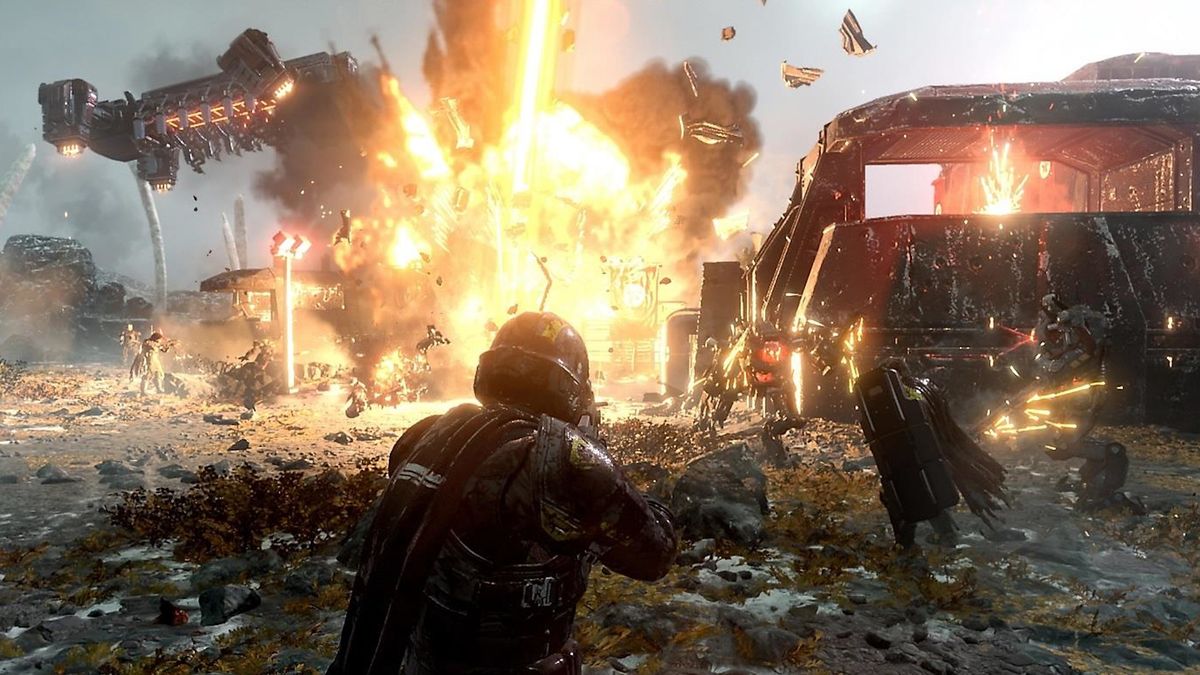
The life of a mercenary on Rubicon 3 is a rough one. You go where you’re told and blow things up, no questions asked. Every shell you fire and missile you launch comes out of your paycheck. Other armored cores—ACs—have the same weaponry you do, and they will punch your ticket if you don’t master the technique of using four weapons simultaneously while dodging incoming fire.
As expected from FromSoftware, Armored Core 6 is a hard game. But customizing your AC can make a big difference in how you approach and survive its toughest battles. There’s a lot to learn about Armored Core’s mech building and combat mechanics, so consider this AC6 guide a jump start. Here are 11 Armored Core 6 tips I wish I’d had when I first climbed into the cockpit.
Doing every training mission unlocks some AC parts

You’re not the kind of person who skips tutorials, are you? Ha! That’d be silly. Especially in Armored Core 6, which keeps its training missions quick and informative… and rewards you for completing all of them with some parts for your AC. It’s worth the 15 minutes or so it takes to complete all the training missions that are rolled out over the course of chapter 1 just for those parts.
Because the tutorials are so information-dense, I actually recommend replaying them once you’re in chapter 2 or 3. There’s probably a tip or mechanic touched on in one of the training missions that you’ll forget about at first, because there’s a lot to learn here.
You can sell AC parts for full value

Armored Core 6 may charge you for every shell you fire, but it’s very generous when it comes to the economy of buying and selling mech parts. Anything you buy can be sold back to the shop for its full value, and you can buy, sell, and rebuy parts as many times as you want. This is particularly beneficial early in the campaign when you want to try a new weapon or leg type but don’t have much cash lying around. Don’t be afraid to sell off parts you aren’t using to try out some new toys.
Also convenient: If you save a build in the AC Data menu and later sell some of its component parts, trying to load that build will prompt you to rebuy all the missing parts in one go.
Use Assault Boosts to deal more (and take less) impact damage

This technique is explained in the tutorial, but it’s easy to forget. Assault Boosting isn’t just a quick way to get around: if you fire weapons while moving at max speed, they’ll deal more impact damage to enemies, while any hits you take will deal you less impact damage. Using this effectively (especially Assault Boosting into a melee attack) can really make a difference when fighting tough enemies.
Just keep in mind it won’t work with all weapons: small arms can be fired during an Assault Boost, but if you’re trying to shoot off a heavy cannon, you’re going to stop in midair to fire it.
Make sure your FCS suits your mech’s playstyle

Every AC is outfitted with an FCS, or Fire Control System, which dictates how effectively your weapons lock onto and track enemies. Each FCS has three primary stats: close-range assist (sub 130 meters), medium-range assist (130-260 meters), and long-range assist (260+ meters). Pick an FCS that will play to your AC’s strengths: if you’re keeping your distance and using rifles and missiles, the long-range assist will be much more helpful, while a shotgun build will benefit more from an FCS that excels at close range.
Here’s the pro tip, though: every FCS also has Missile Lock Correction and Multi-Lock Correction stats hidden behind the Toggle Display key. This affects how quickly missiles acquire a lock. Some FCS modules are built to perform much better with missiles than others, so this is an important stat to check for a missile-heavy build.
Press the “Toggle Display” key in Assembly to see much more detailed stats on AC parts and weapons

If you thought “wow, that’s a lot of stats” when you first opened the assembly menu… hoo boy, that’s literally not even the half of it. Press the Y button on a controller or F on the keyboard to “Toggle Display” and see all the stats for your AC. This is really important, as the default stat view hides away some really useful information, like:
- Accumulative Impact on weapons: How much long-lasting stagger damage you leave on an enemy
- Direct Hit Adjustment on weapons: How much bonus damage a weapon does to a staggered enemy
- Melee Specialization on arms: How much extra damage melee attacks will do
- Melee Attack Thrust on boosters: How quickly you’ll move towards an enemy when using a melee attack
- Kinetic, Energy, and Explosive defense on frame parts: How much damage your AC will take from the different weapon types
That last one is especially important if you’re struggling to survive a tough battle. You may be using AC parts with good defense stats in general, but some parts are much weaker to a specific damage type, like energy or explosive, which isn’t reflected by the average.
The full stat screen can be overwhelming at first, but once you get your mech legs under you, spend some time studying it—you’ll start getting all kinds of ideas on how to optimize your build.
Replay missions to make money and find AC parts in hidden chests

From the Sortie menu, you can easily replay missions you’ve already completed to earn more credits. Completing missions as quickly and efficiently as you can is a fun challenge in AC6: every time you replay a mission you’ll get a rank, with S being the highest, indicating your performance and rewarding you with a higher credit payout accordingly. You’ll only S-Rank missions by being fast and forgoing resupplies and retries.
Replaying missions also presents an opportunity to poke around levels looking for tucked away chests containing mech parts. There are several to find in AC6’s larger stages, and you can highlight them using the Scan function. Speaking of…
Try mixing up kinetic, energy, and explosive weapons against tough enemies

Almost every weapon in AC6 falls under one of these three damage types, with a couple special exceptions. And every enemy in AC6 has resistances to the above based on the makeup of their mech. If your go-to weapon suddenly seems completely ineffective against the enemy you’re up against, that might be a sign you should try a different weapon. Another way to tell that your weapon isn’t doing a good job is if you see a “ricochet” warning as your bullets bounce off the enemy mech.
Before you abandon a weapon as useless, though, you should make sure you’re actually using it properly. If you use the Toggle Display button to view a weapon’s full stat screen, you’ll notice two details worth paying attention to:
- Ideal Range – “Range at which attack power is guaranteed without ricocheting. Applies regardless of the target’s defenses, with the exception of some special armor.”
- Effective Range – “Range at which attacks are effective. This is based on the armor of standard ACs and can vary depending on the defenses of the target.”
The ideal/effective range numbers (listed in meters) can help you dial in how close you need to be to an enemy for that weapon to do its job.
While there’s a small icon on the stats screen telling you which ammo type a weapon uses, it’s pretty easy to intuit what’s what:
- Assault rifles, machine guns, and shotguns are kinetic weapons
- Bazookas and grenade launchers are explosive weapons
- Anything with plasma, laser or pulse in the name is an energy weapon
AC head parts have a “Scan Distance” stat that helps you find secrets

That “Toggle Display” key I mentioned earlier reveals a stat on the AC head parts that I didn’t know about for hours. “Scan Distance” affects what it says: how far the scan pulse emanating from your mech travels. The higher the stat, the easier it is to detect enemies or hidden objects like chests waiting for you out in the world. Again, press Y on a controller or the F key to reveal the full part stats when you’re in the assemble menu.
If you’re hunting for parts chests, throw together an AC build using the head with the highest Scan Distance stat you have available. It’ll help!
You earn AC parts by defeating certain special mechs

Here’s yet another unlock method for parts that Armored Core 6 doesn’t explain in detail. In most missions there’s at least one tougher enemy that drops a resource called a Battle Log. These enemies are usually skippable, or are located somewhere missable or hidden off the main path of the mission. Defeating them earns you a Battle Log, and as you collect more of them, Armored Core 6 will reward you with AC parts.
To see if you’ve gotten the Battle Log in a given mission, check the Replay Mission menu. Here you’ll see a battle log icon with either a ✅ or a 🚫 next to it. Replay those 🚫 missions and go poking around for a tough enemy you haven’t faced before. The scanning advice in the tip above can help you track them down.
You can respec your mech’s OS Tuning for a small fee

Completing Arena battles in AC6 awards you with chips that you then spend in the OS Tuning menu; OS Tuning opens up several new abilities for your mech, as well as upgrades to your damage output, resistance, and repair kit. At one point I regretted how I’d distributed my chips and was looking longingly at the bonus damage I could be getting on each explosive weapon hit when I realized I could respec.
This does cost you some money—100,000 credits, at least when you’ve accrued all the OST chips—but it’s a fairly minor fee to be able to reallocate all those points. Replaying a quick mission will earn you that much in five minutes, and then you can set about redistributing the chips as you see fit.
The more leftover EN Output your generator has, the faster your boost meter refills

Here’s a mechanic the game only explains in a tooltip.
Some basic info first, though: Every generator has a stat called EN Output, representing how much energy it can produce. All parts draw on energy, while certain parts (laser and plasma weapons, for example) use much more than others. Core chest parts also have a stat called Generator Output Adjustment that operates as a multiplier for your EN supply, so the combination of those two parts adds up to your AC’s final energy pool. Now the under-explained bit: if you read the tooltip for EN Output, it says that “Higher values mean that the generator can support more high-burden parts, with the leftover output improving EN recovery speed.”
What this means is that if your mech build has a lot of leftover energy, your boost meter will start recharging more quickly after you’ve fully depleted it in comparison to an AC that has used nearly every scrap of its total EN Output to field demanding parts and weapons.
I don’t think extra EN Output makes a big difference to that recovery rate, but it sure is an under-explained feature.


